In 17th century Europe, decoupage was considered the poor man’s art. During Victorian times, it became a popular hobby and was used to craft decorative books, boxes, vases and wall plaques. The art form gained new popularity in the 1970’s, as a way to revive Victorian styles and designs. But it can be used today for any style of decoration, on just about any type of surface from pleather to wood and glass, and the results are beautiful!

Craft and Art Supplies for Decoupage
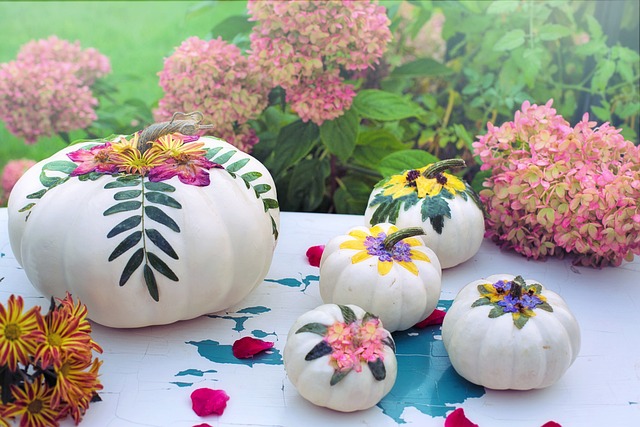
There are few supplies needed for this paper craft, requiring little storage space, making it an economical art medium. You’ll need your images. It’s better if your image is only one sided, so any design on the back doesn’t bleed through. For best results, copy a book or magazine image onto plain white paper. You can decoupage tissue paper (there are lots of pretty prints available), cards, and even dried pressed flowers. You can apply a single image or layer different papers and images on top of each other. Just add an even coat of a decoupaging medium like ModPodge to each layer and let it dry thoroughly between coats.
Other than that, you’ll need scissors (preferably small cuticle or embroidery scissors) for cutting out the designs; tweezers (for picking up and placing designs on the surface, especially if they need to be moved once placed), a small paint brush (the 1” sponge brushes work well and are inexpensive and disposable for easy cleanup), and ModPodge decoupage medium (for both applying and sealing the design), which can be found at a local craft store. If you’re using dried flowers, use a tiny artists brush to position, as tweezers can break the fragile flowers and leaves. A magnifying glass helps with placement of fine details but isn’t necessary. And work in a well lit area with low humidity to ensure quick and thorough drying. You’re ready!
How-to Decoupage
If you’re working on wood, be sure all holes are filled, and the surface is sanded to a smooth finish. Other surfaces just need to be clean and dust free. Cut out your paper images and dried flowers carefully and plan your arrangement. Brush a thin layer of the decoupage medium on the entire surface (work in small areas at a time, like the top, then each side of a box) and, while still wet, place your images, papers or dried flowers. Gently pat them into position and let them set. Let this first layer dry completely then add a second layer of medium over the design. Continue to layer your papers or flowers, applying a coat of medium to each layer. Once complete, apply 2-3 more coats of medium, allowing each to dry thoroughly.
You can create many beautiful, artistic, hand-crafted gifts, household decorations, and useful items with this newly revived paper craft. The art of decoupage is a great way to recycle those beautiful cards, wrapping papers, and magazines that would otherwise end up in the landfill!